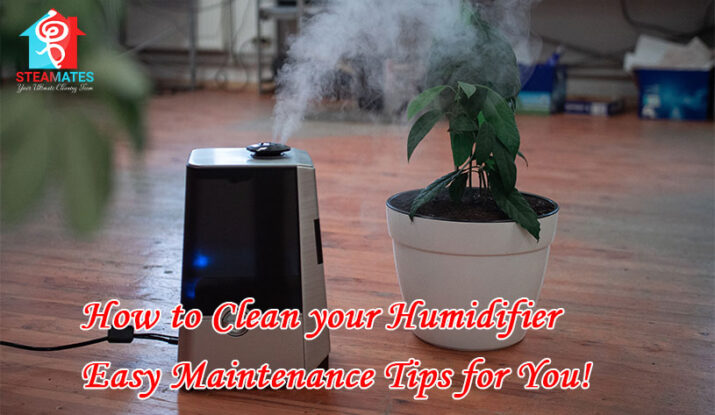
Humidifiers are lifesavers when you tend to eliminate moisture in your home to battle respiratory colds. But make sure to clean your appliance regularly because it may cause you parched sinuses, dry skin, or a scratchy throat as it thrusts more than mist into the air.
Without appropriate and regular disinfection, these humidifiers act as prime growing places for microbes and molds that are streamed by the humidifier into the air. These sorts of air pollutants are highly unsafe for people having allergies, asthma, and other breathing problems. To help you take precise precautionary measures, We have gathered some successful expert advice on how to clean humidifiers and keep optimum health levels maintained. However, it is very important for you to follow instructions for the relevant model of your humidifier. However, this guide is functional for almost every humidifier model.
Step 1: At first, you are required to unplug your humidifier from the wall and disassemble it entirely. Based on the model type, unlock or unlatch any remaining removable part from its base and place every part at a distance for recognition. If you have a humidifier that includes an air filter, make sure to remove it. To clean these filters you can wash them with cool water and let them dry completely.
Step 2: Once the cleaning of the filters is completed, pour white vinegar into the humidifier’s base, filling all the areas that are in contact with water, as well as soaking the remaining parts in white vinegar. Let sit for at least 30 minutes to break up the germ buildup. Then clean every single component of the humidifier with a brush to remove any remaining stuck-on residue. There are some models that are equipped with cleaning functionalities, but if not, then any soft brush will serve the purpose. Small-sized brushes are best suitable for cleaning hard-to-reach areas.
Step 3: Once the water tank is emptied, refill it with tap water, and repeat the process to wash any slackened debris on the surface of the reservoir and nozzle. Utilizing a specific yet effective mixture of 1 teaspoon of bleach to 1 gallon of water, fill the tank at least halfway and swirl the solution around so that the entire inside is coated. You can also substitute 3% hydrogen peroxide for bleach if you prefer.
Step 4: It’s better to utilize tap water to carefully rinse the tank, base, and every other component, shaking everything to extricate any stuck dampness. Commonly, it requires several passes before the smell of used cleaners dissipates completely. Let all the components dry completely and place towels at the top so that they may absorb any residual aromas.
Step 5: Dry every section and part of your humidifier completely, and start to reassemble your appliance for use. Commonly people forget to place the filters back in and it causes many issues later, so don’t forget these. Now fill the base of the humidifier with mineral water, plugin, and enjoy your safe and healthy humidifier.